
FLASHFORGE AD5X Enclosure Kit Review: The DIY Thermal Solution
This review is based on real experiences shared by owners in online communities.
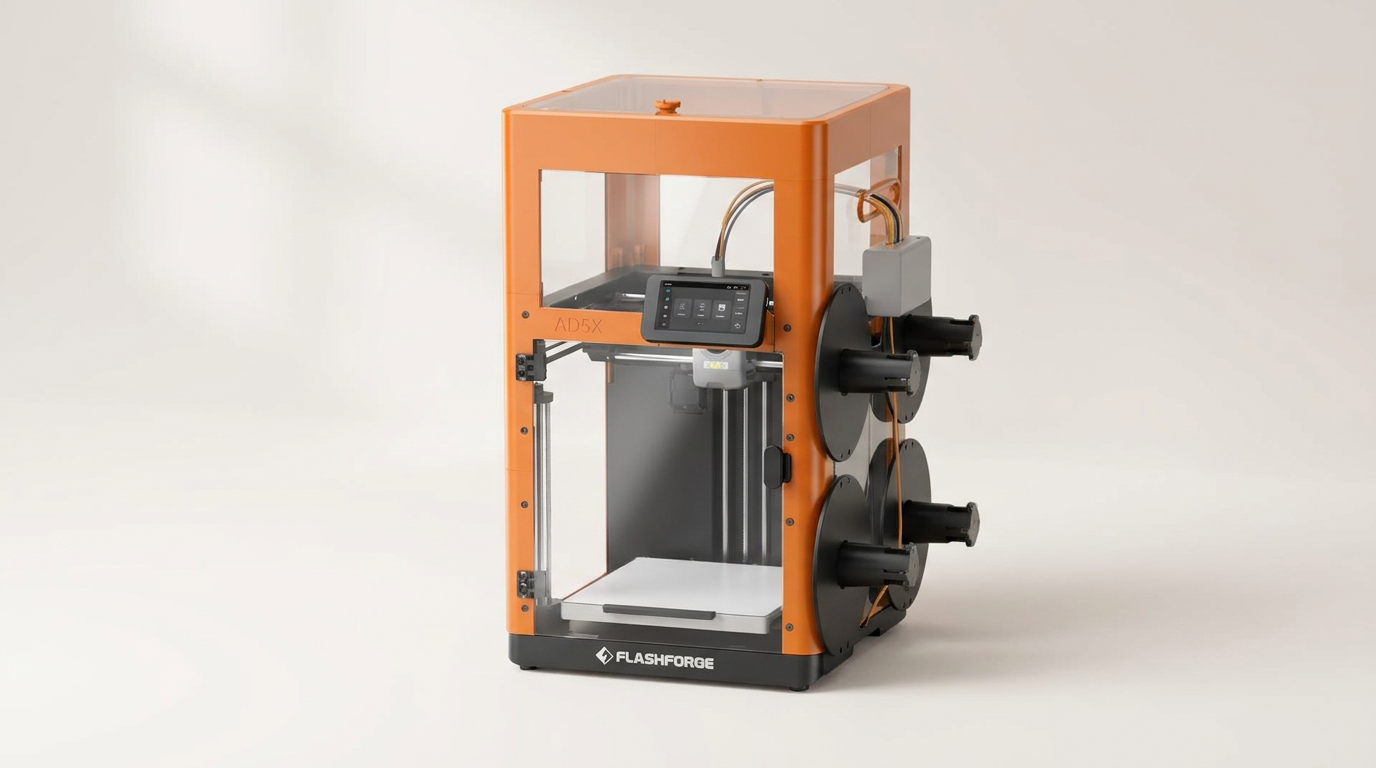
In a 3D printing market increasingly defined by fully integrated, plug-and-play systems, the FLASHFORGE AD5X Enclosure Kit represents a deliberate step in a different direction. It asks owners to engage directly with the very process their printer performs: fabrication. This kit offers the thermal stability and environmental control of an enclosure, but its most defining characteristic is the expectation that users will print a substantial portion of the necessary structural components themselves. This design philosophy creates a unique value proposition, essentially trading hands-on effort for a lower entry cost and customization flexibility.
While marketing emphasizes benefits like reduced noise and odor, and improved high-temperature filament performance, the core narrative emerging from owner experiences centers on this DIY assembly model. It is less a complete enclosure and more a modular add-on system, relying on the user's existing printer to complete itself. This approach unlocks a specific type of user experience and product flexibility, but also introduces a significant preparatory step that some buyers overlook.
What owners love
- + Significantly improves thermal consistency for high-temp filaments
- + Effective in reducing dust accumulation and some noise
- + Allows for extensive customization of structural components via self-printing
- + Relatively straightforward assembly once all parts are gathered
- + High-quality acrylic panels and hardware for a professional finish
Common complaints
- − Requires substantial self-printing of frame parts (approx. 40-50 hours, 1.5kg filament)
- − Some small hardware (screws) may be short or missing for specific sections
- − Protective film on acrylic panels can be challenging to remove
- − Instruction clarity issues with screw labeling and software file access
- − May over-retain heat for PLA, potentially causing clogs
Design & Build
The AD5X Enclosure Kit comprises primarily pre-cut acrylic panels and associated hardware, but critically relies on the user's printer to fabricate the structural frame components. This 'Build-Your-Own-Frame' paradigm is central to its design. Owners consistently praise the quality and clarity of the acrylic panels once the often-difficult-to-remove protective film is peeled away. The pre-drilled mounting points on these panels ensure precise alignment. However, a recurring theme involves the screws: some owners report certain screws being too short for their intended purpose, particularly for multi-feed or spool holder spacers, requiring improvisation or sourcing additional hardware. The kit's overall aesthetic is clean and integrated, lending a professional appearance to the AD5X printer once fully assembled.
Setup & Ease of Use
Setting up the AD5X Enclosure Kit is a two-phase process: printing the frame components, then assembling the enclosure itself. The first phase is the most time-consuming; owners report spending anywhere from 40 to 50 hours printing the necessary brackets and frame pieces, often consuming over a kilogram of filament. This pre-requisite printing, dubbed the 'Pre-Assembly Print Tax' by some users, is frequently overlooked at purchase. Once all printed parts are ready, assembly of the acrylic panels and hardware is generally described as straightforward. However, instructions sometimes fall short, with discrepancies in screw labeling and occasional difficulty accessing the required print files from Flashforge's software. The process involves numerous small screws, which some users found fiddly. Despite these challenges, many find the DIY aspect enjoyable and rewarding, likening it to a 'fun' build experience.
Performance in Real Use
The enclosure delivers tangible benefits for specific printing scenarios. Owners confirm its efficacy in maintaining consistent internal temperatures, which is crucial for printing high-temperature filaments like ABS, ASA, and PC, significantly reducing warping and improving adhesion. Beyond thermal stability, the enclosure effectively minimizes dust accumulation and noticeably reduces operational noise. However, this excellent heat retention can become a double-edged sword: several users report print head clogging when using PLA, suggesting the internal temperature becomes too high for this lower-temperature filament. This introduces a 'Filament Thermal Ceiling' dynamic, requiring users to manage ambient conditions or print settings carefully when switching materials. The lack of a robust seal for the plexiglass is noted by some, potentially impacting its overall thermal and odor containment efficiency, though for the price point, this is a minor trade-off.
Software & Ecosystem
The kit itself does not involve software, but its installation process heavily relies on the Flashforge ecosystem for accessing the necessary 3D printable files. This often presents a hurdle for new users. Owners report difficulties opening RAR files containing the print models, requiring them to download additional software or locate the files through unofficial channels. This friction point indicates a minor disconnect between the hardware kit and the digital resources needed for its completion. While the concept of printing custom parts allows for personalization in color and material, the initial discovery and access to these files could be smoother. Once files are acquired, the ability to print frame parts in different colors provides a unique customization opportunity not typically found in off-the-shelf enclosures.
Value & Reliability
For its price point, which is typically under $100, the AD5X Enclosure Kit offers considerable value, especially when compared to fully assembled alternatives that can cost significantly more. Its reliability largely hinges on the quality of the user's self-printed components and the care taken during assembly. The core acrylic and hardware components are generally considered high-quality. The kit transforms the AD5X into a more versatile machine capable of handling a wider range of filaments and improving print consistency, effectively bridging the gap between a base model and a more 'pro' version. Despite the initial investment in time and filament for printing the frame, owners widely agree that the final product represents a worthwhile upgrade for their printer, particularly for those looking to expand their material palette or operate in less-than-ideal environments.
Verdict
Buy - This kit provides essential environmental control and enhances printer versatility for a reasonable investment.
This kit is ideal for AD5X owners who are comfortable with a significant DIY printing project and seek to expand their printer's capabilities to include higher-temperature filaments like ABS or ASA. It particularly suits those who value customization and are willing to invest around 50 hours of print time and filament costs to achieve a fully enclosed system. Users operating their printers in dusty or drafty environments, or those looking to minimize noise and odors, will also find strong utility here. It is a cost-effective upgrade that unlocks new printing possibilities.
Conversely, users seeking a truly plug-and-play solution or those primarily printing PLA should hold off. The extensive self-printing requirement and potential for PLA clogs make it less suitable for those who prefer immediate functionality or exclusively use lower-temperature materials. Buyers expecting a complete, ready-to-assemble enclosure will be surprised by the preparatory work involved. The Flashforge AD5X Enclosure Kit embodies the 'DIY Dividend' a product that asks for significant user investment in time and effort, yielding a highly customized and performant solution that might otherwise sit in a much higher price tier. It is a testament to embracing the printer's core function not just as a tool, but as a partner in its own evolution.
FAQ
More 3D Printer Parts & Accessories reviews
ELEGOO Filament Storage Bags Review: The Unsung Hero of 3D Printing
BambooSegD RGB LED Lamp Kit: The 3D Printer Accessory Standard
Creality TPU 95A: A Flexible Filament for Patient Printers
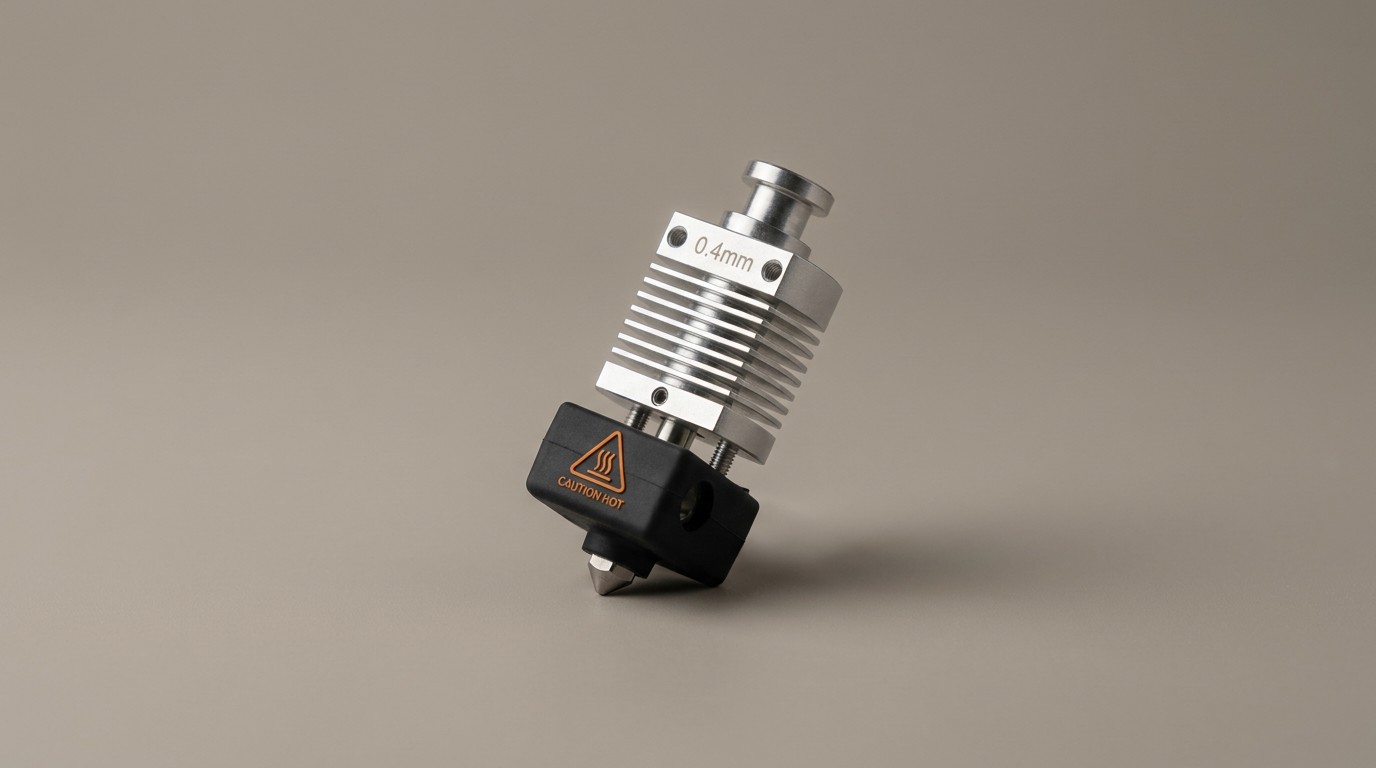
UniTak3D Quick-Swap Hotend 0.4mm Review: A Solid Bambu A1 Alternative
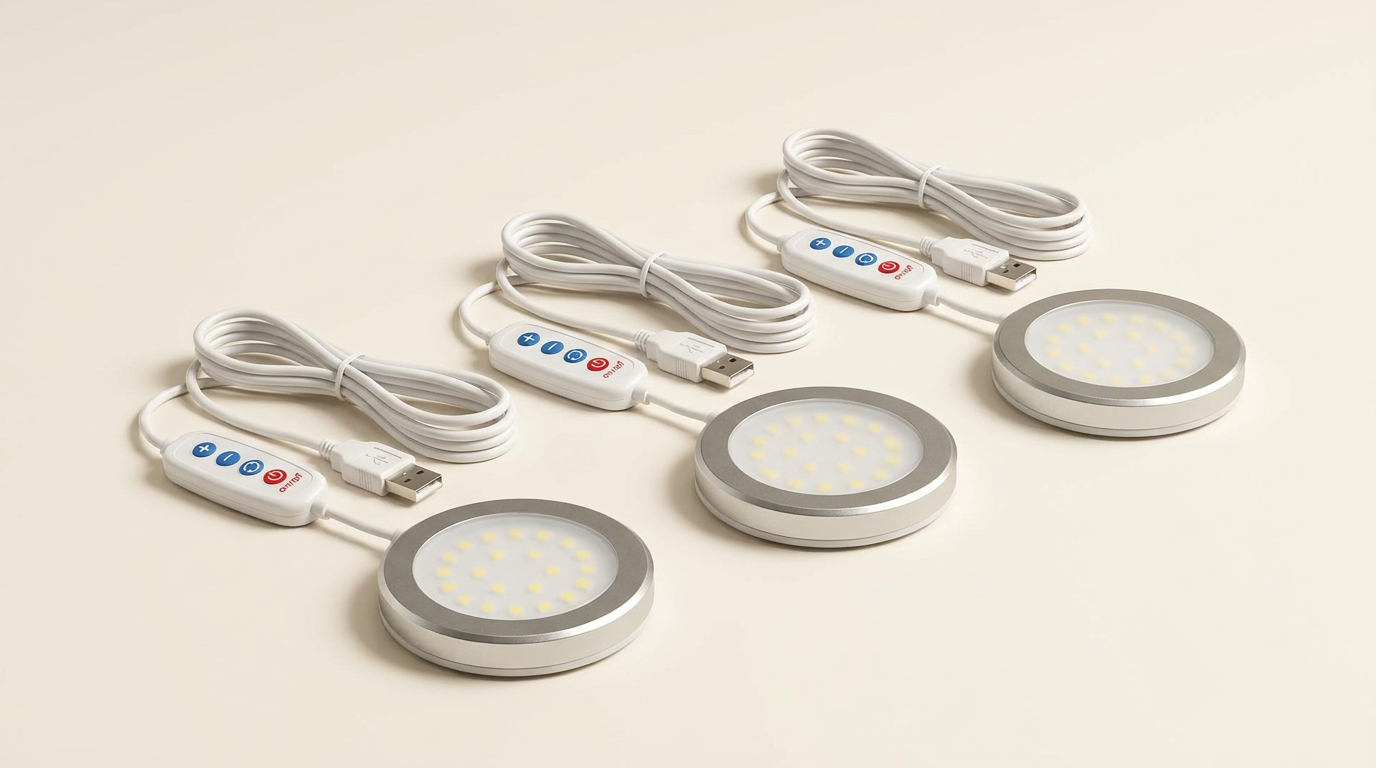
3DZWMAN LED Lamp Kit Review: The Smart Alternative for 3D Print Lighting
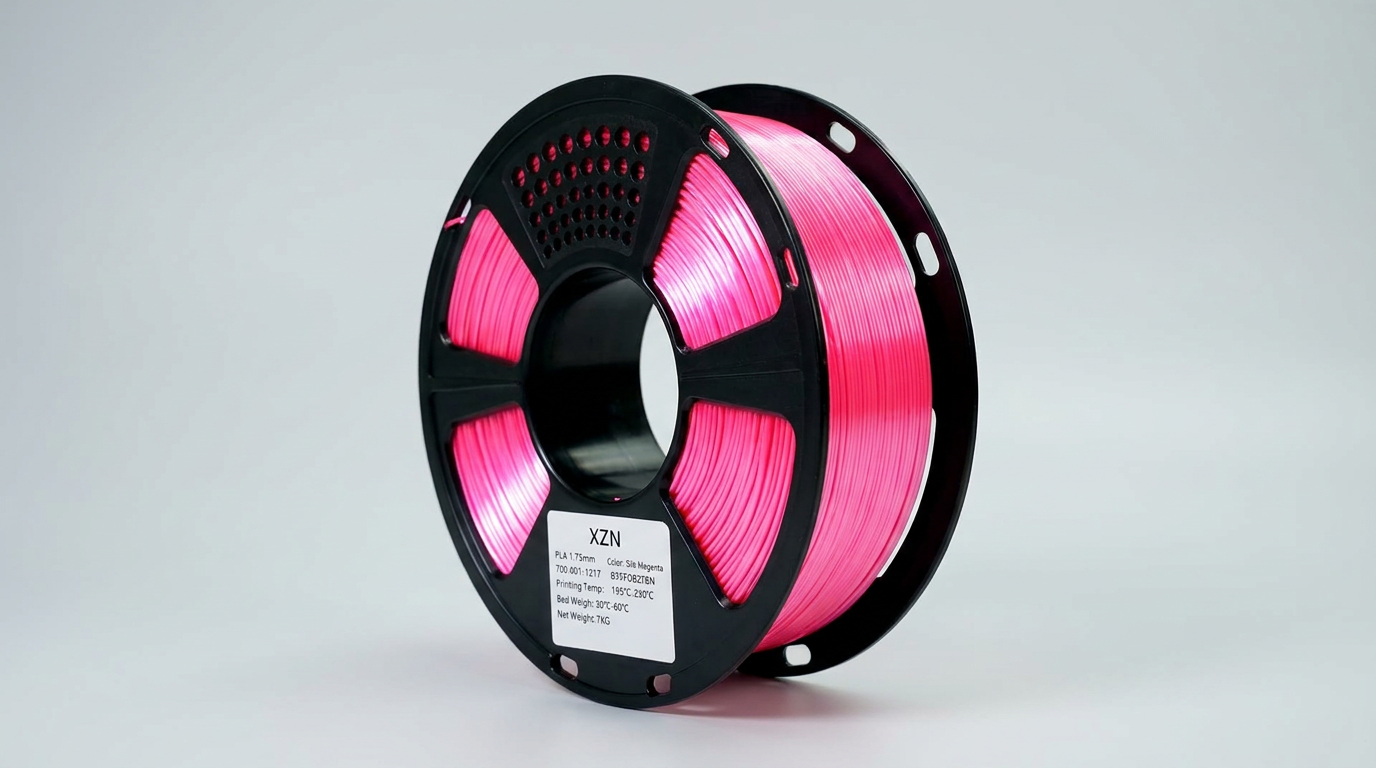
XZN Silk PLA Filament Review: Visual Impact and Printing Consistency
This review is based on real experiences shared by owners in online communities.